How to Install Go on macOS: A Complete Beginner’s Guide
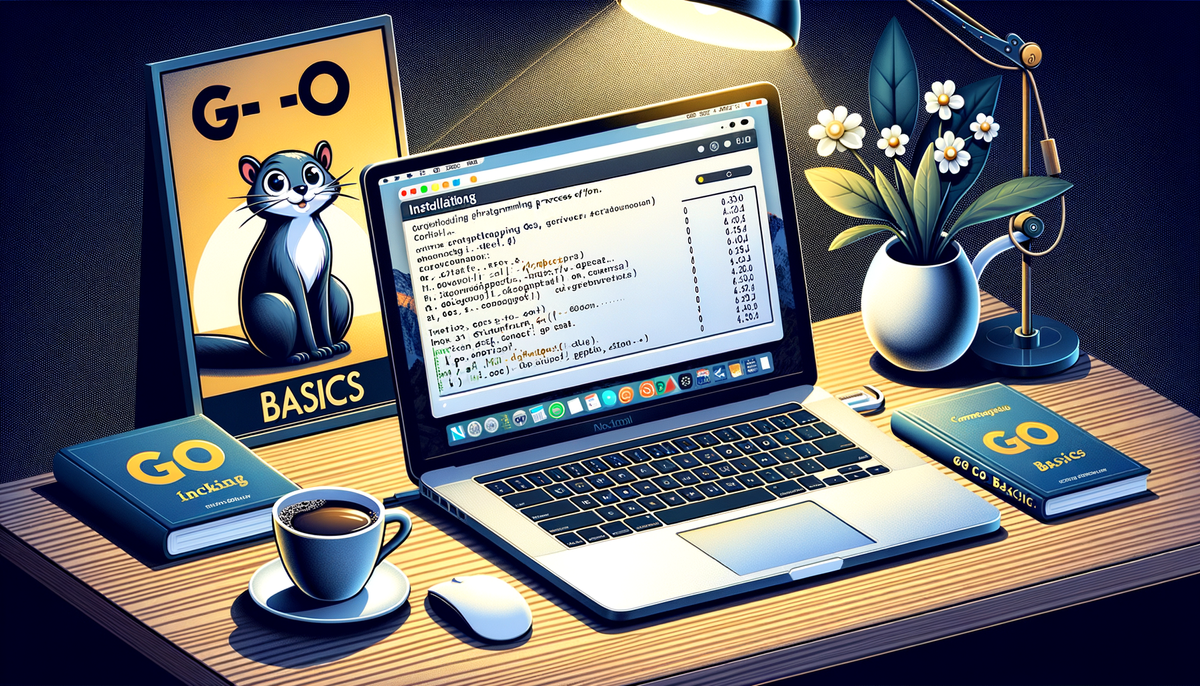
Eager to code with Go on your Mac? This beginner-friendly guide simplifies the installation process of Go, showcasing its benefits like high performance and strong concurrency. Follow these steps to get started: download, install, set up your environment, and test with a "Hello, World!" program.

If you're eager to start coding with Go, also known as Golang, on your Mac, you're in the right place. This step-by-step guide will help you install Go and have it up and running in no time. Go is a powerful language used for building efficient and reliable software. Let’s get started on setting up Go on your macOS!
Why Install Go on macOS?
Before we jump into the installation, let's look at some reasons why you might want to use Go:
- Easy to Learn: Go has a simple syntax and is user-friendly.
- High Performance: Go executes programs quickly.
- Strong Concurrency Support: Go handles many tasks simultaneously with ease.
Getting Started: Prerequisites
To start with Go on your macOS, you need:
- A macOS machine (any version should work).
- Basic knowledge of using the Terminal.
Step 1: Downloading Go
The first thing you’ll need to do is download Go.
- Open your web browser.
- Go to the official Go language site: golang.org.
- Find the macOS download link and click on it.
Step 2: Installing Go
Once the download is complete, it's time to install Go.
- Open the downloaded
.pkgfile. - Follow the instructions given by the installer. Click "Continue" to proceed.
- Wait for the installer to finish the process, then click "Close" when done.
Step 3: Setting Up Your Environment
After installation, you have to set your environment variables to use Go.
-
Open the Terminal.
-
Type the command to open your profile settings, which could be
.zshrcor.bash_profile, depending on your shell:nano ~/.zshrcor
nano ~/.bash_profile -
Add the following lines. This informs your system where Go is installed and where it should look for Go projects:
export PATH=$PATH:/usr/local/go/bin export GOPATH=$HOME/go export GOBIN=$GOPATH/bin -
Save the file and exit the editor by pressing
CTRL + X, thenY, andEnter. -
Restart your terminal or update it with:
source ~/.zshrcor
source ~/.bash_profile
Step 4: Verify Your Installation
Now, let’s check if everything works fine.
- In the Terminal, type:
You should see the current version of Go displayed.go version
Creating Your First Go Program
To ensure everything is set up correctly, let's create a simple "Hello, World!" program.
-
In your Terminal, create a project directory:
mkdir -p $GOPATH/src/hello cd $GOPATH/src/hello -
Create a file named
main.go:nano main.go -
Enter the following Go code:
package main import "fmt" func main() { fmt.Println("Hello, World!") } -
Save and close the file.
-
Run your Go program with:
go run main.goYou should see "Hello, World!" printed in the Terminal.
Troubleshooting Common Issues
Problem: Go command not found.
- Solution: Check that the PATH variable is set correctly in your shell profile.
Problem: Error related to GOPATH.
- Solution: Ensure that you've set the GOPATH environment variable in your profile file.
Additional Tips and Resources
- Upgrading Go: To upgrade Go, simply download the latest version from the Go website and follow the installation steps above. Make sure to update your PATH if necessary.
- Go Tools: Familiarize yourself with useful Go tools like
go build,go test, andgo getto enhance your coding workflow. - IDE: Consider using an IDE like Visual Studio Code with Go extensions for a better coding experience.
Wrapping Up
Congratulations, you have successfully installed Go on your macOS! You’ve also run your first Go program, which is a significant first step in your programming journey. Keep experimenting and building more complex applications with Go.
Remember, learning a new programming language takes time, so be patient and keep practicing!
For more resources, visit Go's official documentation. Happy coding!


