Raspberry Pi and AI: Explore AI Applications on Raspberry Pi
Unlock the power of AI on your Raspberry Pi! Learn how to set up your Pi, install AI libraries like TensorFlow and OpenCV, and build simple AI applications like handwritten digit recognition and voice/image recognition. Start your AI journey today!

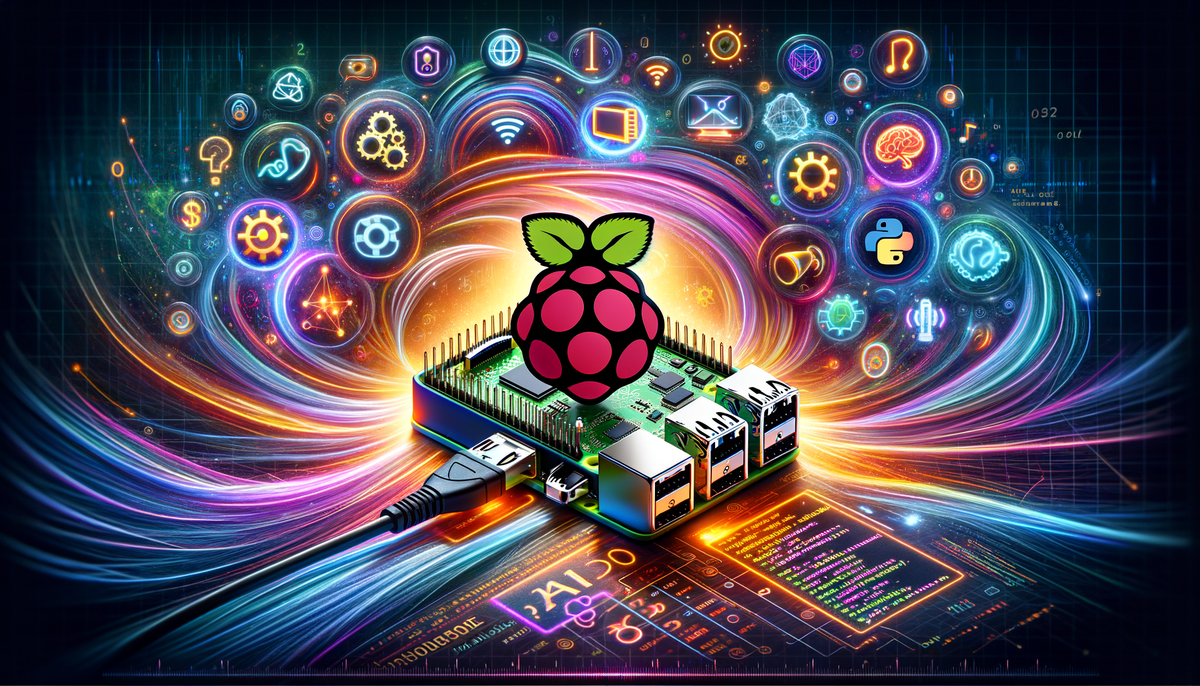
The world of artificial intelligence (AI) is exciting! Nowadays, even small devices like the Raspberry Pi can be used to do amazing things with AI. If you like to build things and learn about technology, exploring AI on a Raspberry Pi is a fun and rewarding way to do both.
Why Use a Raspberry Pi for AI?
The Raspberry Pi is a tiny, cheap computer. It's like a small, powerful brain that you can use for many projects. The best thing about it is that it's affordable, so you can easily experiment with AI without spending a lot of money.
Here are some things you can do with AI on a Raspberry Pi:
- Make your home or work smarter: You can use AI to automate tasks, like turning on lights or playing music when you come home.
- Build cool projects: You can create fun projects like a robot that can recognize objects or a game that learns your playing style.
- Try out ideas before building them big: You can test out ideas using a Raspberry Pi before spending lots of money building a more complex system.
Getting Started with AI on Your Raspberry Pi
Here’s what you need to get started with AI on your Raspberry Pi:
Things You Need
- A Raspberry Pi (preferably one with at least 4GB of RAM): This is the brain of your project.
- A power supply: To keep the Raspberry Pi running.
- A MicroSD card (at least 32GB): This is where you store the operating system and your programs.
- A keyboard, mouse, and monitor: To interact with your Raspberry Pi.
- An internet connection: To download the software you need.
Setting Up Your Raspberry Pi
- Install the Raspberry Pi Operating System: Download and install the Raspberry Pi OS onto your MicroSD card. You can use tools like Balena Etcher to do this. It’s like putting the operating system on your computer’s brain.
- Update and Upgrade: Once you’ve installed the operating system, open the “terminal” (it’s like a text-based window) and run these commands to keep your system up to date:
sudo apt-get update
sudo apt-get upgrade
Installing AI Libraries
To work with AI on your Raspberry Pi, you need some special software called “libraries.” These are like toolboxes that have all the tools you need to build AI projects. Two popular libraries are TensorFlow and OpenCV.
Installing TensorFlow on Your Raspberry Pi
TensorFlow is a powerful library for machine learning. Think of it as a tool that helps your Raspberry Pi learn from data.
- Open the terminal.
- Install TensorFlow by running these commands:
sudo apt-get install python3-dev python3-pip
pip3 install tensorflow
Installing OpenCV on Your Raspberry Pi
OpenCV helps your Raspberry Pi “see” the world by working with images and videos.
- Open the terminal.
- Install OpenCV by running these commands:
sudo apt-get update
sudo apt-get install libhdf5-dev libhdf5-serial-dev libqtwebkit4 libqt4-test
sudo apt-get install libjasper-dev libqtgui4 python3-pyqt5
sudo pip3 install opencv-python
Easy AI Projects for Your Raspberry Pi
Let’s build some fun AI projects to see how it works!
Image Classification with TensorFlow
In this project, we'll use TensorFlow to teach our Raspberry Pi how to recognize images.
-
Create a New Python Script:
import tensorflow as tf from tensorflow.keras.applications import MobileNetV2 from tensorflow.keras.applications.mobilenet_v2 import preprocess_input, decode_predictions from tensorflow.keras.preprocessing import image import numpy as np # Load the model model = MobileNetV2(weights='imagenet') # Load and preprocess image img_path = 'path/to/your/image.jpg' # Replace with your image path img = image.load_img(img_path, target_size=(224, 224)) x = image.img_to_array(img) x = np.expand_dims(x, axis=0) x = preprocess_input(x) # Predict the image preds = model.predict(x) print('Predicted:', decode_predictions(preds, top=3)[0]) -
Run the Script:
python3 your_script_name.pyReplace
your_script_name.pywith the name of your Python file. This script will load an image, prepare it for TensorFlow, run it through the model, and tell you what the model thinks it sees in the image.
Object Detection with OpenCV
Now, let’s try something with OpenCV. We'll use OpenCV to teach your Raspberry Pi how to find faces in an image.
-
Create a New Python Script:
import cv2 # Load the cascade face_cascade = cv2.CascadeClassifier(cv2.data.haarcascades + 'haarcascade_frontalface_default.xml') # Read the input image img = cv2.imread('path/to/your/image.jpg') # Replace with your image path # Convert into grayscale gray = cv2.cvtColor(img, cv2.COLOR_BGR2GRAY) # Detect faces faces = face_cascade.detectMultiScale(gray, 1.1, 4) # Draw rectangle around the faces for (x, y, w, h) in faces: cv2.rectangle(img, (x, y), (x+w, y+h), (255, 0, 0), 2) # Display the output cv2.imshow('img', img) cv2.waitKey() -
Run the Script:
python3 your_script_name.pyThis script will load an image, use the Haar Cascade model to find faces, and then draw boxes around the faces it finds.
Taking Your AI Projects Further
Now that you’ve built some basic AI projects, you can try more advanced things.
Speech Recognition Project
You can use libraries like SpeechRecognition and Pyaudio to create a simple voice assistant that listens to your commands and does things like answer questions or play music.
-
Install Required Libraries:
sudo apt-get install python3-pyaudio pip3 install SpeechRecognition -
Create a New Python Script:
import speech_recognition as sr # Initialize recognizer class (for recognizing the speech) recognizer = sr.Recognizer() # Reading Microphone as source # listening the speech and store in audio_text variable with sr.Microphone() as source: print("Talk") audio_text = recognizer.listen(source) print("Time's up, thanks") try: # using google speech recognition print("Text: " + recognizer.recognize_google(audio_text)) except: print("Sorry, I did not get that") -
Run the Script:
python3 your_voice_assistant.pyThis simple script captures your voice input and prints the text. You can make it do more things by adding code that tells it what to do based on your voice commands.
Smart Home Automation
You can create a smart home system using your Raspberry Pi and AI. This system can recognize faces and voice commands, and then control lights, appliances, and other things in your home.
- Use face recognition: Teach your Raspberry Pi to recognize different people using OpenCV.
- Use voice recognition: Use
SpeechRecognitionto listen to voice commands. - Control devices: Use the Raspberry Pi’s GPIO pins to turn on lights or appliances.
AI-Powered Surveillance Camera
You can create an AI surveillance system that can detect intruders and send you alerts.
- Train a neural network: Teach your Raspberry Pi to recognize intruders using a neural network.
- Capture video: Connect a camera to your Raspberry Pi.
- Process the video: Analyze the video frames to detect intruders.
- Send alerts: Send notifications to your phone or computer using services like Twilio or Pushbullet.
Conclusion
The Raspberry Pi is a great way to explore AI because it’s cheap and easy to use. You can use it to learn about powerful AI libraries like TensorFlow and OpenCV and build cool projects like image classifiers, voice assistants, and smart home systems.
By following this guide, you’ve taken your first steps into the exciting world of AI with the Raspberry Pi! Keep learning, experimenting, and sharing your ideas with others. Who knows, maybe you’ll invent something amazing! Happy coding!


