Raspberry Pi Setup: A Complete Guide for Beginners
Learn how to set up your Raspberry Pi from scratch with this comprehensive guide for beginners. We cover everything from gathering the necessary hardware to installing software and exploring fun projects. Get started with your Raspberry Pi today!

Welcome to the ultimate guide for setting up your Raspberry Pi! This little computer is incredibly versatile, making it perfect for all sorts of projects, from learning programming to building a media server. This guide is designed for beginners, so we'll walk through everything step by step, in a way that's easy to understand.
What You Need to Get Started
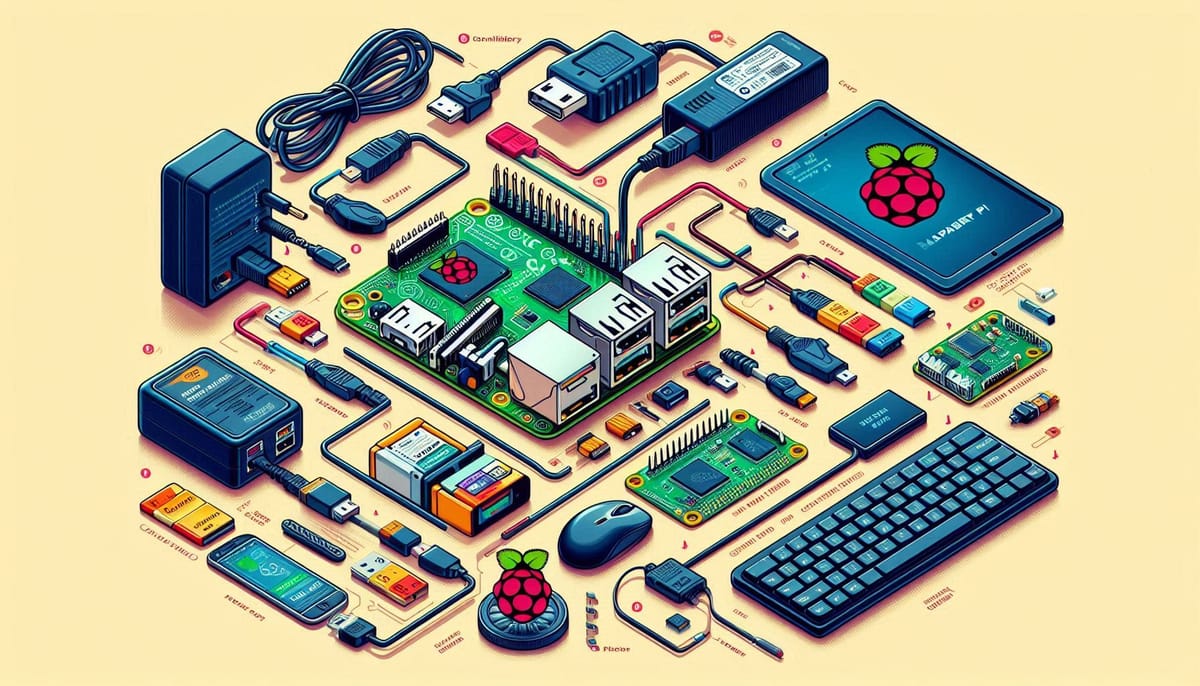
Before we dive into the setup, let's gather all the necessary tools:
- Raspberry Pi: Any model will do, but we'll use the Raspberry Pi 4 as an example.
- MicroSD Card: Get one that's at least 16GB in size.
- Card Reader: This allows your computer to read the SD card.
- Power Supply: Make sure it matches the specific power requirements of your Raspberry Pi model.
- Keyboard and Mouse: You can use USB or Bluetooth ones.
- Monitor: This needs to have an HDMI connection.
- Internet Connection: You can use either a wired or wireless connection.
Downloading and Installing Raspberry Pi OS
Step 1: Downloading the Raspberry Pi Imager Tool
The first step is to install the Raspberry Pi Imager tool, which helps us put the operating system (OS) on the SD card.
- Head over to the Raspberry Pi Imager download page.
- Click on the download button for your computer's operating system (Windows, macOS, or Ubuntu).
- Once downloaded, install the application.
Step 2: Preparing the SD Card
Now it's time to get the SD card ready:
- Plug the SD card into the card reader, then connect it to your computer.
- Open the Raspberry Pi Imager.
- Click on "Choose OS" and select "Raspberry Pi OS (32-bit)" (for a Raspberry Pi 4).
- Click "Choose SD Card" and choose your SD card from the list.
- Click "Write" and wait. This part might take a few minutes!
Step 3: Insert the SD Card into the Raspberry Pi
- After the "Write" process finishes, safely remove the SD card from your computer.
- Insert it into the SD card slot on your Raspberry Pi.
Connecting Your Raspberry Pi
Step 4: Connecting Peripherals
Now, let's connect all the important bits:
- Connect the monitor to your Raspberry Pi using the HDMI cable.
- Connect the keyboard and mouse to the USB ports.
- Optional: If you're using an Ethernet cable, plug it into the Ethernet port on the Raspberry Pi.
Step 5: Power Up!
Finally, connect the power supply to your Raspberry Pi and plug it into a power outlet. The Raspberry Pi will automatically turn on and you'll see the boot screen.
First Boot and Basic Setup
Step 6: Initial Setup
Once the Raspberry Pi is booted, you'll be guided through the initial setup:
- Choose your Language and Country.
- Set a New Password.
- Configure Network Settings: If you're not using a wired connection, you can connect to a Wi-Fi network.
- Update Software: It's super important to install the latest updates. The device will tell you when to do this.
Step 7: Installing Essential Software
Example: Installing a Web Browser
-
Open the Terminal by clicking on the terminal icon.
-
To install a web browser like Chromium, type the following command and press Enter:
sudo apt-get install chromium-browser -
Wait for the installation to finish.
Example: Setting Up Python
-
Python is usually already on Raspberry Pi OS. To check, open the Terminal and type:
python --version -
You should see the version of Python that's installed. If not, install it using:
sudo apt install python3 -
To install additional packages for Python, use the pip tool:
sudo apt-get install python3-pipThen, install packages like this:
pip3 install numpy pandas
Using Your Raspberry Pi: Fun Projects for Beginners
Example 1: Basic LED Circuit
-
You'll Need:
- LED
- Resistor (220 ohm)
- Breadboard
- Jumper wires
-
Steps:
- Connect the longer leg of the LED to GPIO pin 17 on the Raspberry Pi.
- Connect the shorter leg of the LED to one leg of the resistor.
- Connect the other leg of the resistor to a GND pin.
-
Code: Open Python in the Terminal and type this:
import RPi.GPIO as GPIO
import time

GPIO.setmode(GPIO.BCM)
GPIO.setup(17, GPIO.OUT)

while True:
    GPIO.output(17, GPIO.HIGH)
    time.sleep(1)
    GPIO.output(17, GPIO.LOW)
    time.sleep(1)
Example 2: Simple Temperature Monitoring
-
You'll Need:
- DHT22 Sensor
- Breadboard
- Jumper wires
-
Steps:
-
Connect the DHT22 Sensor data pin to GPIO pin 4.
-
Install the Adafruit DHT library:
sudo pip3 install Adafruit_DHT
-
-
Code: Open Python and enter:
import Adafruit_DHT

sensor = Adafruit_DHT.DHT22
pin = 4

humidity, temperature = Adafruit_DHT.read_retry(sensor, pin)
if humidity is not None and temperature is not None:
    print('Temp={0:0.1f}*C Humidity={1:0.1f}%'.format(temperature, humidity))
else:
    print('Failed to get reading. Try again!')
Customizing Your Raspberry Pi
Changing the Desktop Background
- Right-click on the desktop.
- Choose "Desktop Preferences" from the menu.
- A window will pop up that lets you change the background image and other settings.
- Pick your favorite image and click "OK".
Setting Up Remote Access
Example: Using VNC Viewer
- Enable VNC Server: Go to the Raspberry Pi Configuration tool found in the Preferences menu.
- In the Interfaces tab, enable VNC.
- Download VNC Viewer: Get VNC Viewer for your main computer from the VNC Viewer download page.
- Connect: Open VNC Viewer, enter your Raspberry Pi's IP address, and click connect.
Troubleshooting Common Issues
Raspberry Pi Doesn't Boot
- Check Power Supply: Make sure you're using a power supply that's rated for your Raspberry Pi model.
- Re-flash the SD Card: Sometimes the SD card setup can get messed up. Try writing the Raspberry Pi OS to the card again.
No Display on the Monitor
-
Check HDMI Connection: Make sure the HDMI cable is connected securely.
-
Change Resolution Settings: Edit the
config.txtfile on the SD card (you can do this from another computer). Uncomment and change the HDMI and resolution settings to match your monitor.hdmi_force_hotplug=1 hdmi_group=1 hdmi_mode=4 # 720p @ 60Hz
Final Thoughts
Setting up a Raspberry Pi might seem complicated at first, but with this guide, you can see that it's really not so bad! Whether you want to tinker with electronics, learn to code, or build your own home media server, the Raspberry Pi opens up a world of possibilities. Have fun!


